Getting started with HELLO - Quickstart guide
Understanding the components of the vertical navigation bar
Contact Center

It can be accessed by the complete hierarchy of manager, team lead and employee.
It is common for all the employees, no two employees of the same company can have different contact center.
It contains all the clients, chats and contact details which are not closed by any employee.
Chats of all mediums (Facebook, Mail, RCS, SMS) are displayed here.
Features of Contact Center

Chat is used to communicate with the help of widget, as customer messages from widget chat mode will be enabled. In every chat (channel), two chatting options are the permanent note and the mode through which customer is texting.
Note is used to tag colleagues in an ongoing conversation with the client. We can tag employees with the help of @(username of employee), as you type @ the list of employees will be displayed as a drop-down list. All the conversations using note is not shown to the client, it is only for the employees of the company.
Other than these two options there are three more available options - Facebook, Mail and RCS.
Facebook can only be initiated by the client. When the client first sends messages from our integrated Facebook page, a new chat is created with a random name. For this process to happen, our Facebook page must be integrated into the settings tab.
Mail can only be initiated by the clients. When the client first sends mail, which is integrated into the settings tab, a new chat is created. And we can continue our conversation by sending mail with subject and matter in the contact center.
We can also change the mail ID, phone, name of a client from the right navigation bar.
The employee can also close a chat by clicking on the 'close chat' option, which can later be revived from the leads tab or when client again sends a message.
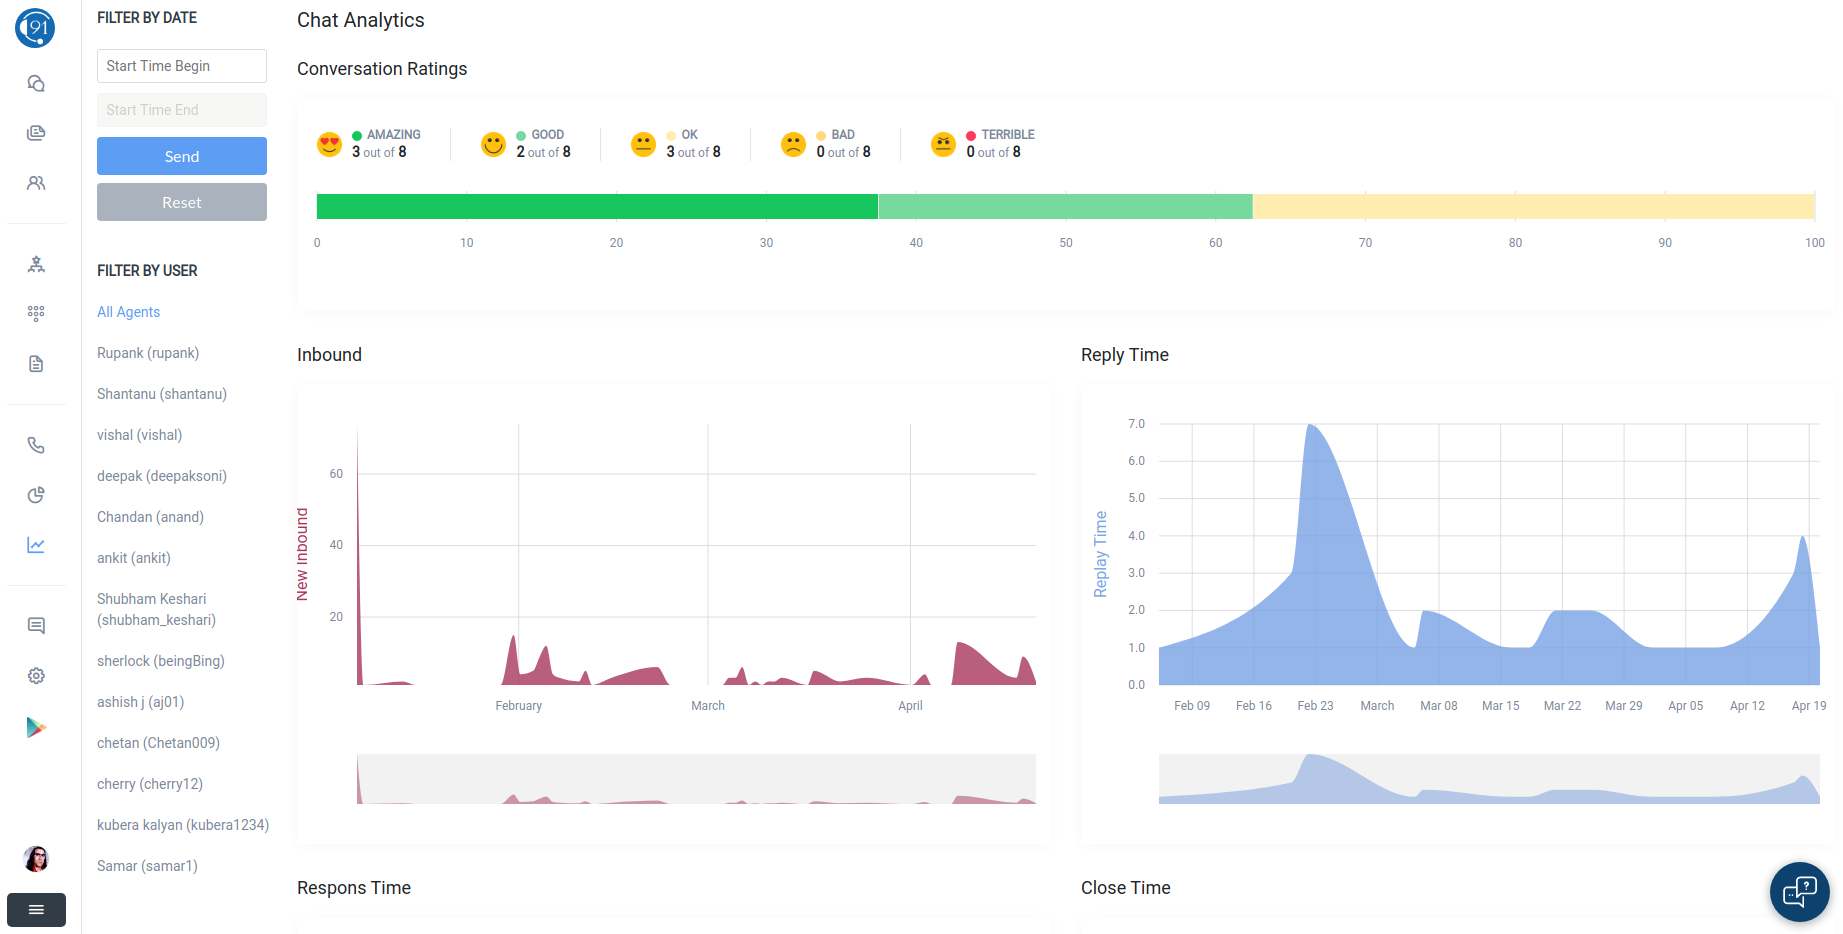
Below is the chat analytics which has various filters to be used as per data required.
Employee
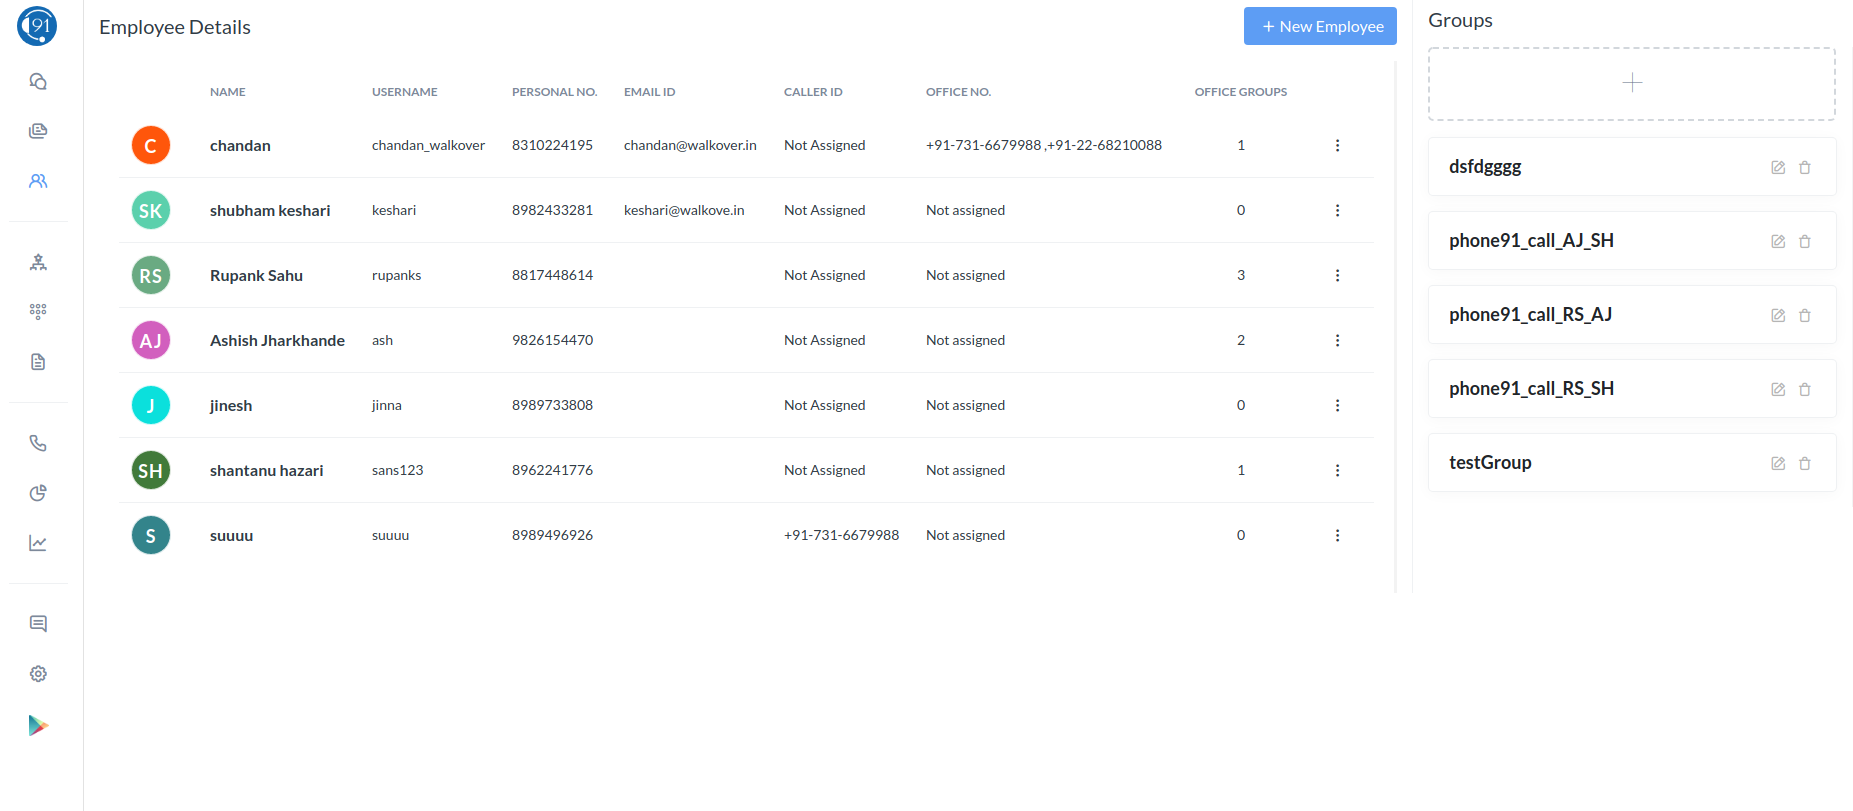
It can only be accessed by the user and the manager, not by the employee and team lead.
It contains the details of all the employees of the company.
Add Employee
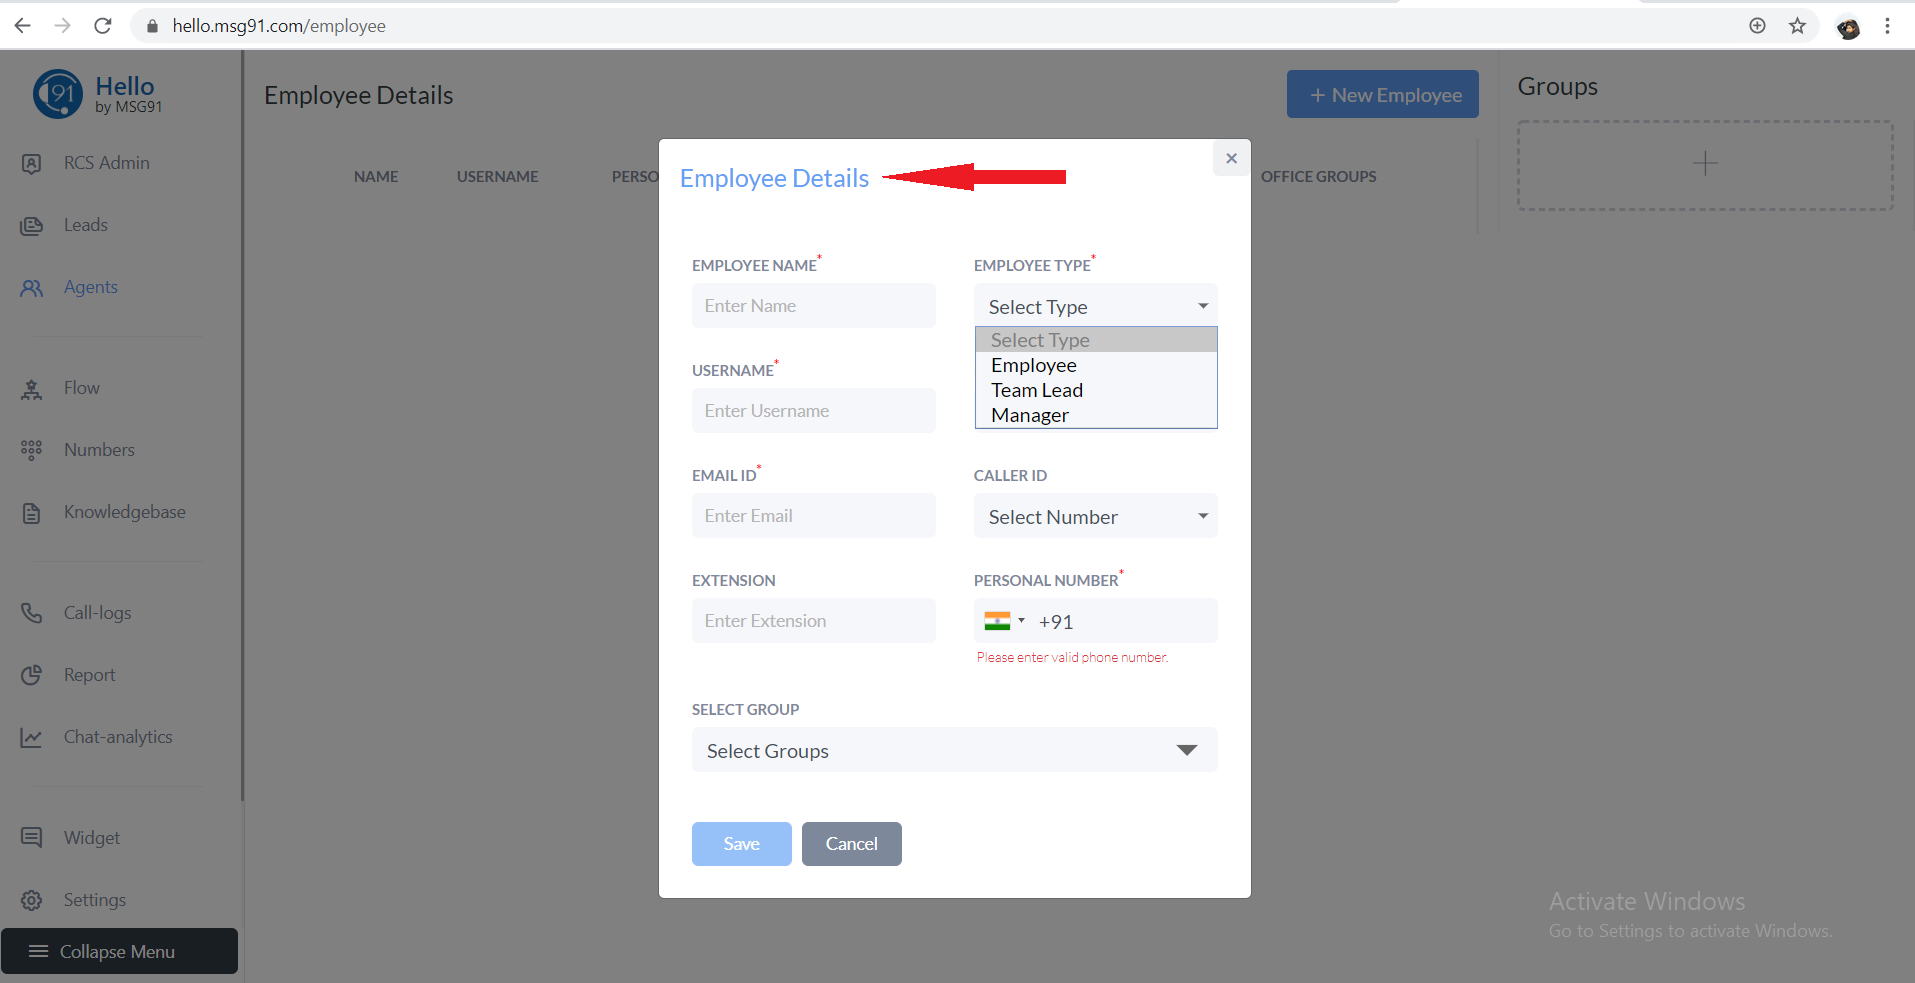
You can add employees (employee, manager, team lead) by filling details of the employee, which also contains the phone number of employee which you need to verify at the same time by entering the OTP. For login with google in HELLO, the employee must verify his/her email ID by clicking on the link sent to his/her email ID.
You can create groups/team and assign them employees. You can also edit the details of the employees.
Flow
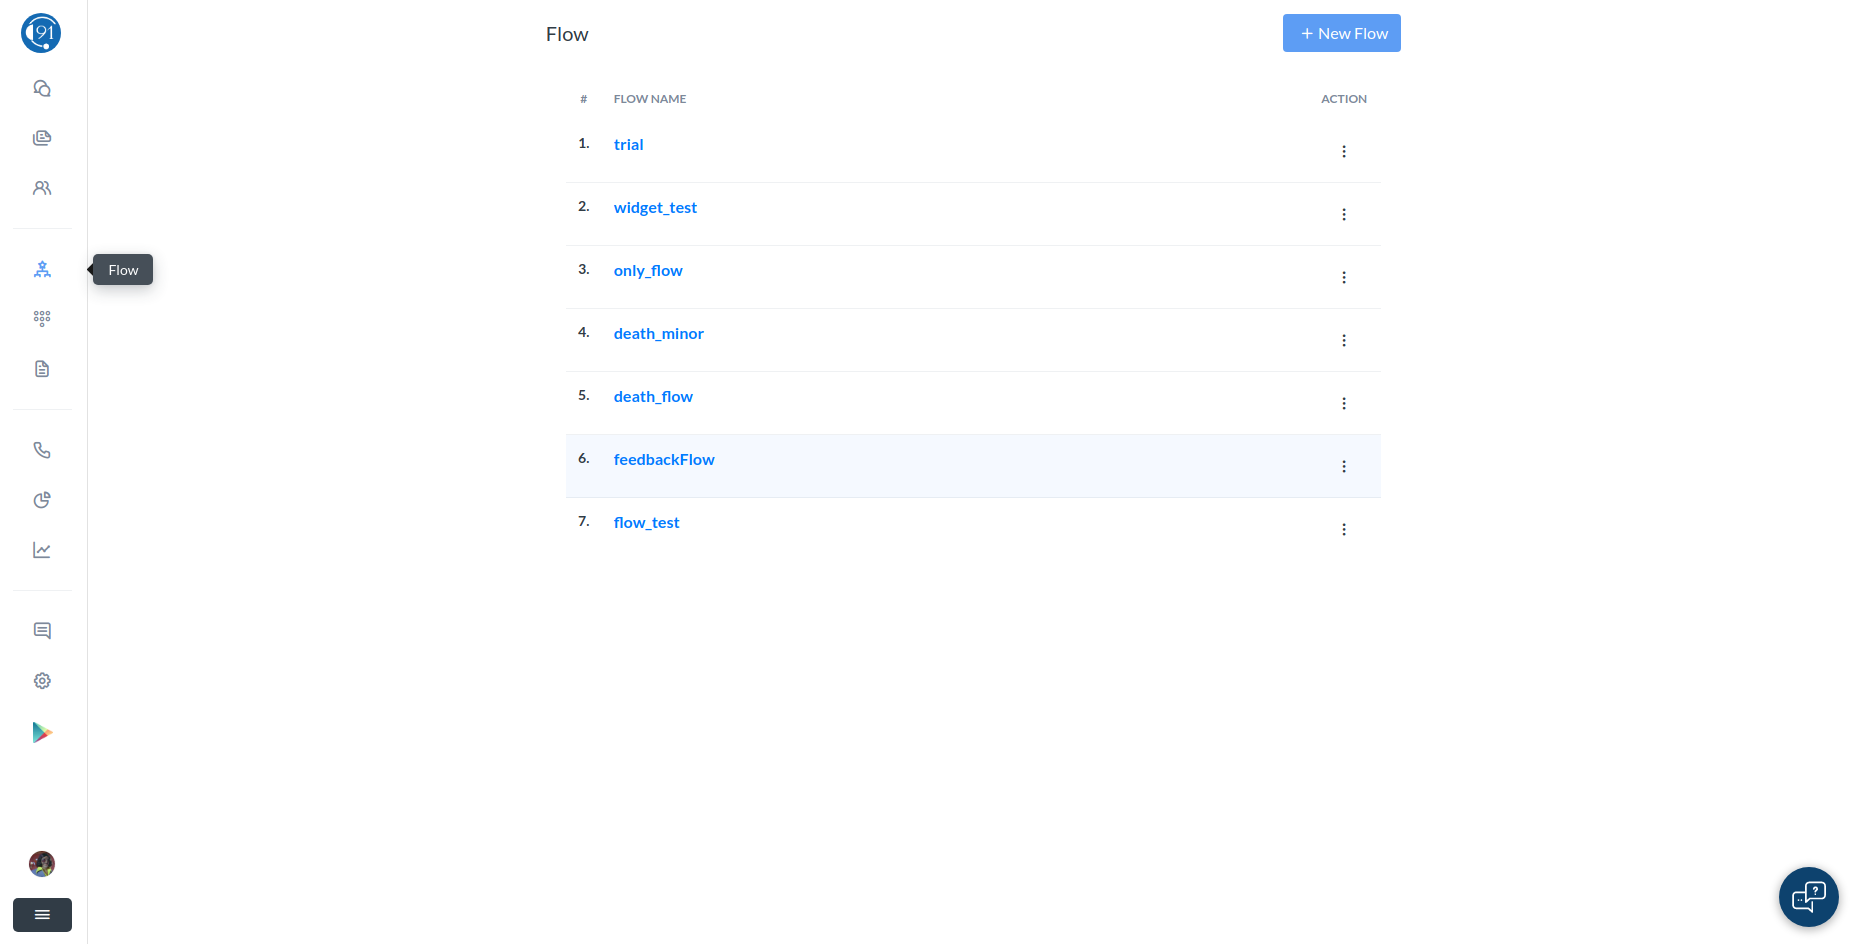
It can be accessed by the user and manager.
User can create a flow by clicking on create flow option and writing the name of the flow.
You can also copy the flow by clicking on the copy icon.
Flow is mainly used to decide the flow for incoming and outgoing calls through our assigned numbers. We can add number input, call a webhook or API, play an audio file, record the call, send SMS or Mail, record the call and some more to a flow.
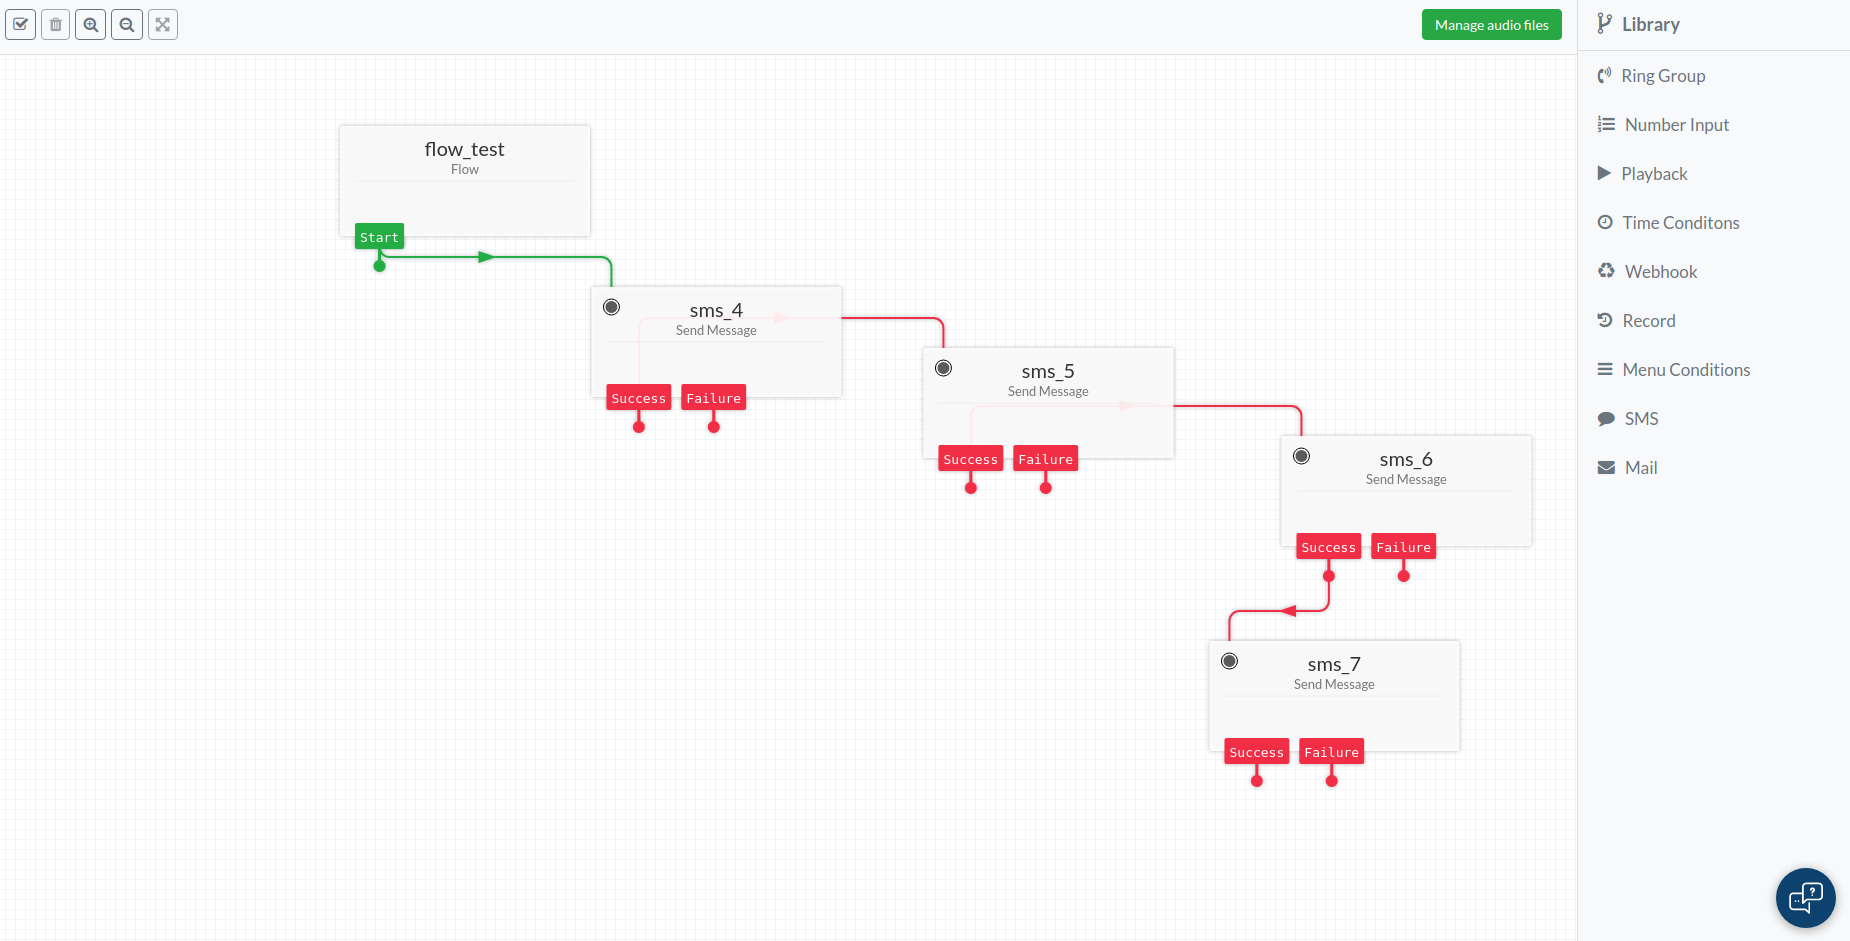
Configure Flow
To open the flow and edit it click on the name of the flow and drag-drop the functions you want to add, connect lines between them to assign the flow and configure it.
Numbers
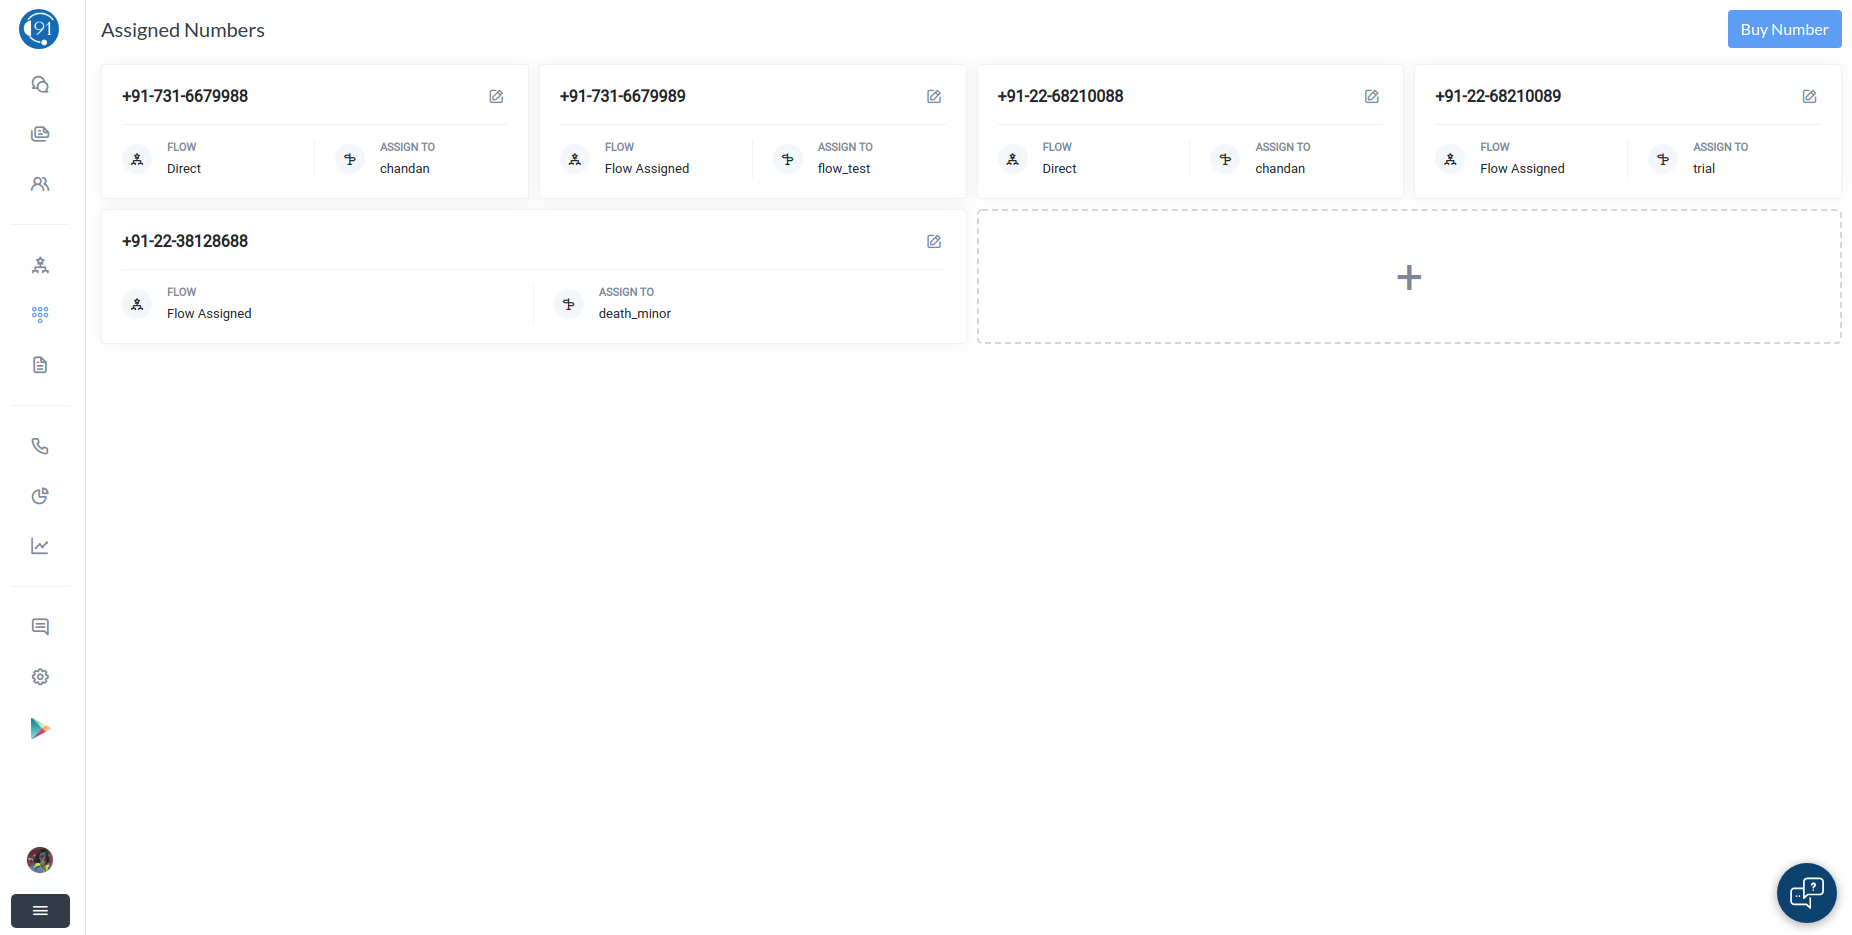
It can only be accessed by the user and manager.
It is used to buy and assign numbers to the employees.
The assigned number is used by the agent or team to contact with the clients.
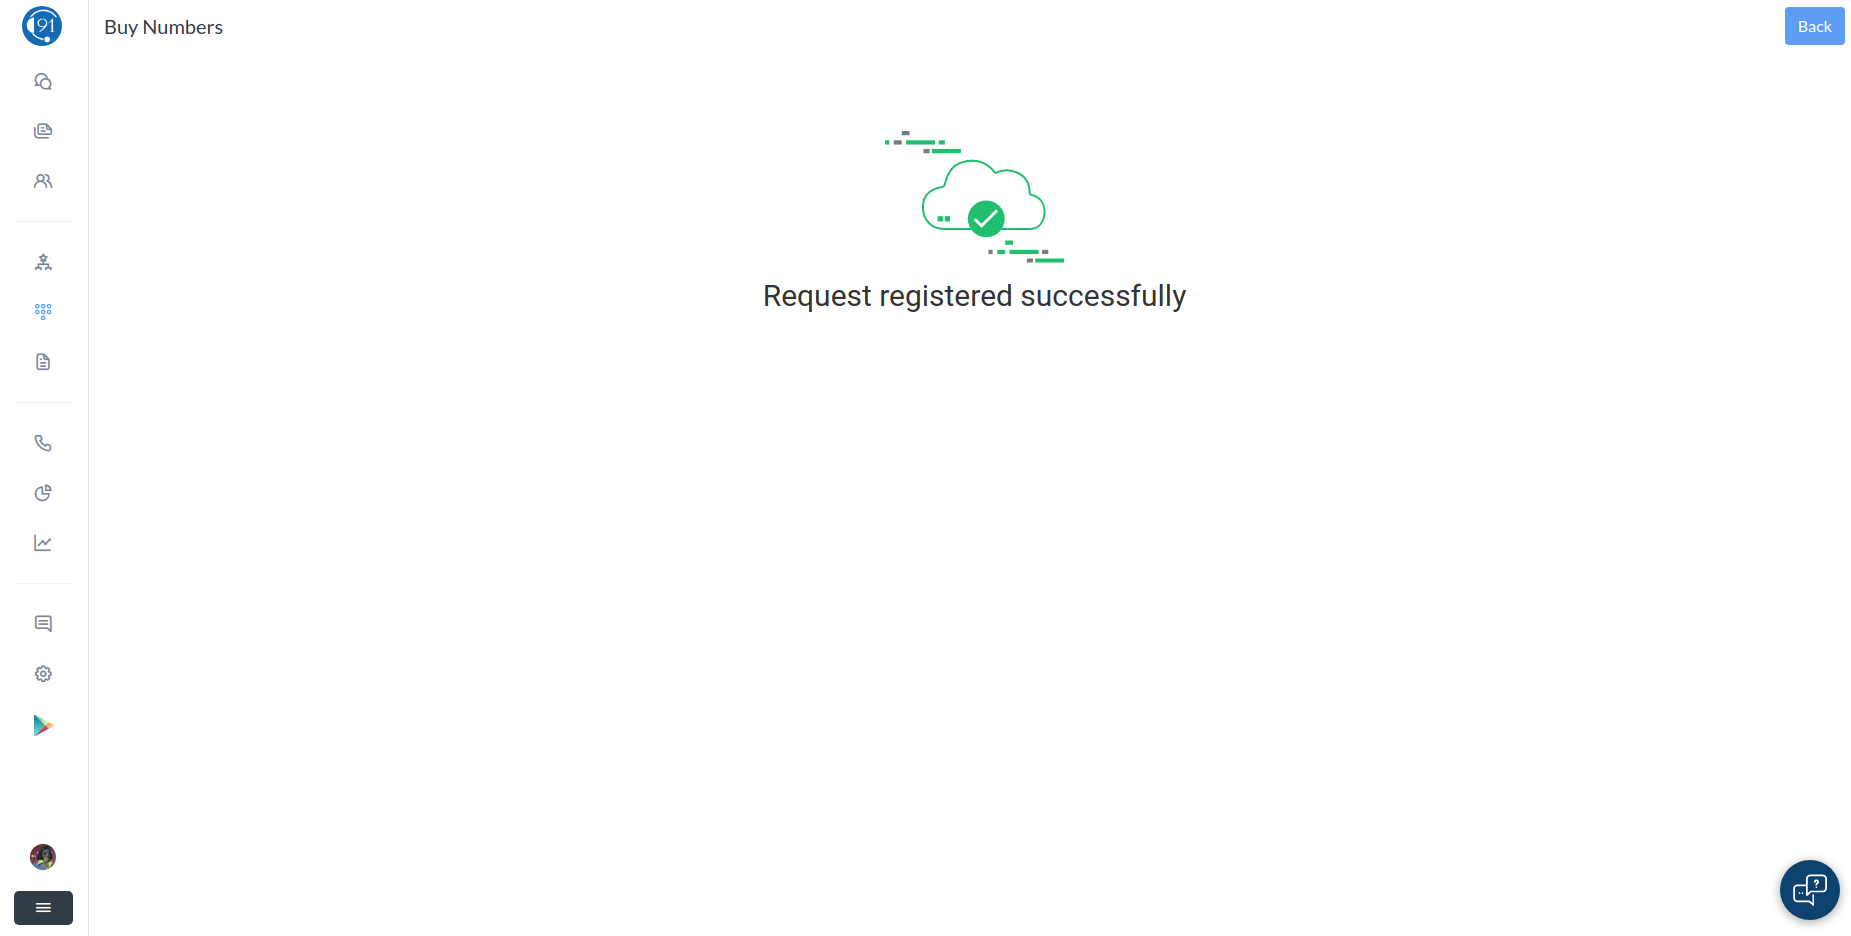
To buy numbers you have to click on buy number option and then choose the country for which you want to purchase the number. Then you have to select among the available numbers or request for a number.
While assigning a number, you have to choose the flow which are Direct, Team, Divert, Flow Assigned, No Flow Assigned.
In Direct option, you have to choose an employee to which the number will be assigned.
In Team option, you have to select the team to which this number is assigned.
In Divert option you have to choose the number to which it will be diverted if the original number is not available.
In Flow Assigned, you have to choose a flow according to which that number will be functioning.
Call logs
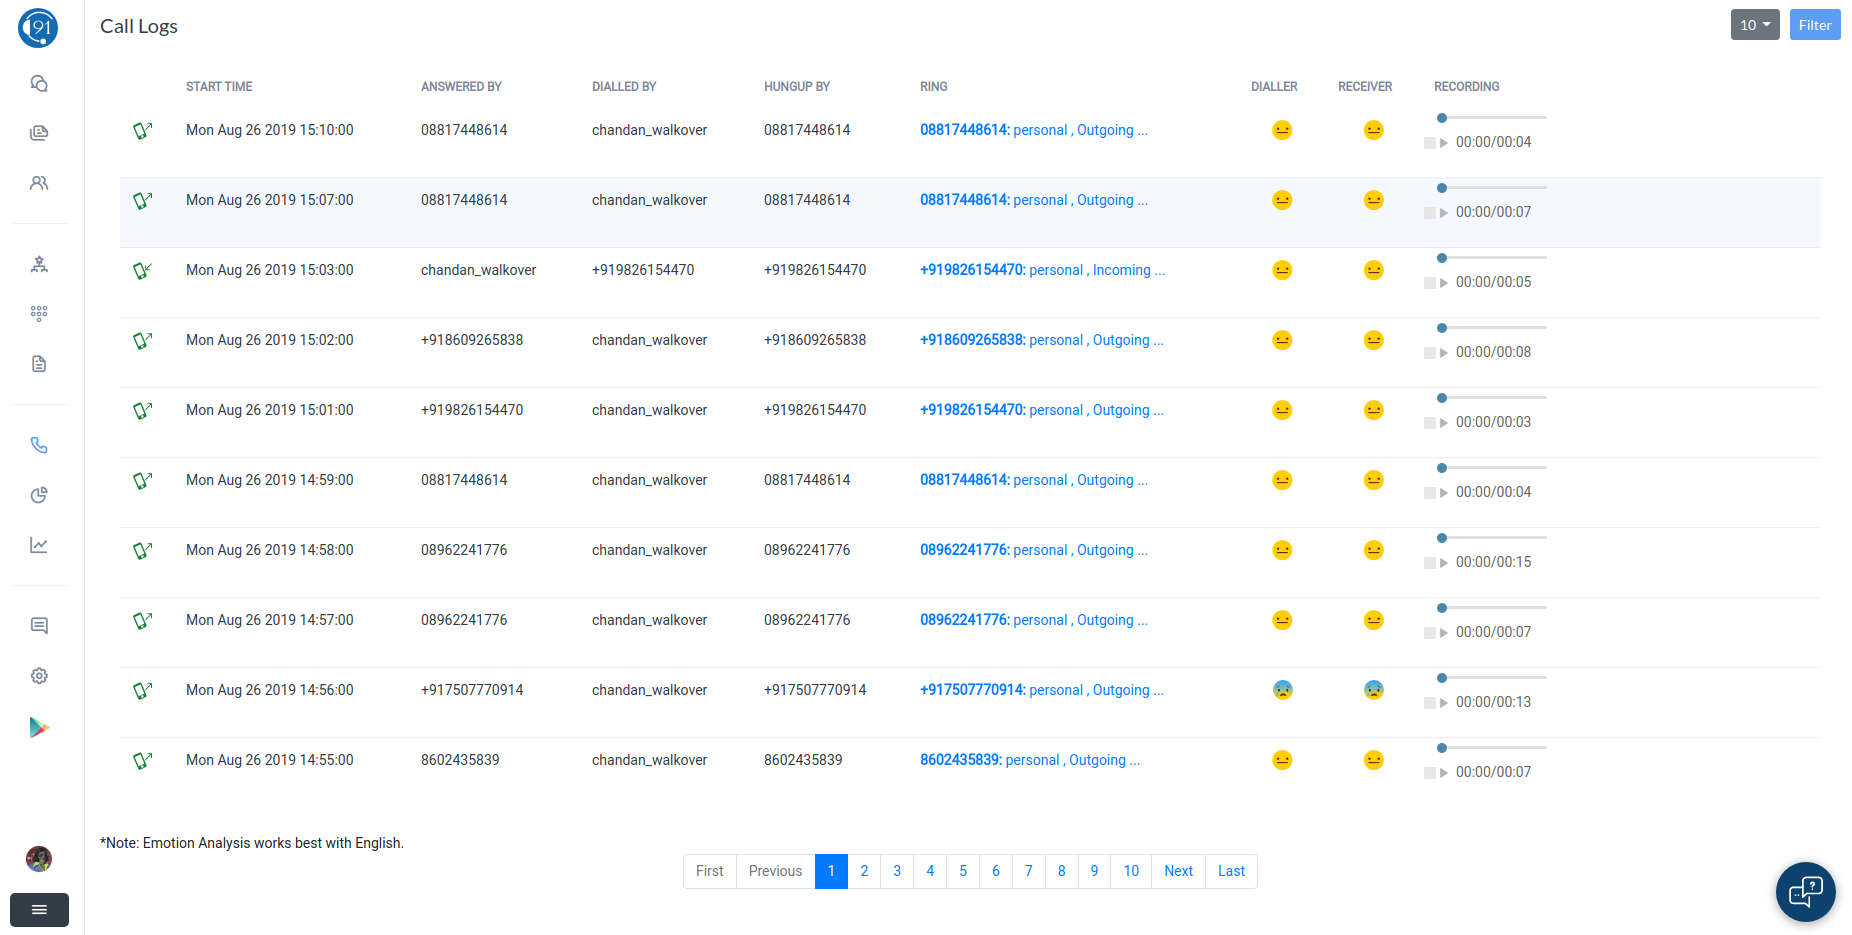
It can be accessed by all the employees of the company, records are different according to their rights.
Manager can see all the call records of the company, by all the numbers assigned to employees of the company.
Team lead will see all the records of him combined with his team call records. He has same access of Call Logs as manager.
Employee will only see his own call records.
The call records contain the most basic information upto the call recording of all calls.
Integration
It is used to integrate the company’s CRM (customer relationship manager).
By this information of every client can be seen from his phone number itself.
Widget
It is one of the most interesting features of HELLO. It can only be accessed by the user and manager of the company.
Manager can create a chat and call widget using this feature. Then the widget can be integrated into the company's website.
So all the queries/messages through the company widget will arrive at the contact center of HELLO.
In this way, a new chat is created and the employee of the company can give answers to the queries of any visitor of their website.
Click here to see the steps to integrate Widget
Leads

It can be accessed by all the employees of the company.
It is just a tabular form of all the chats (channels) in the contact center along with the chats which are closed by the employees.
You can add new parameters using leads, which can be used to extend the information taken from the client.
You can revive a closed chat by clicking on the chat icon in front of the name of the client. You can also filter the chats according to their parameters.
Report
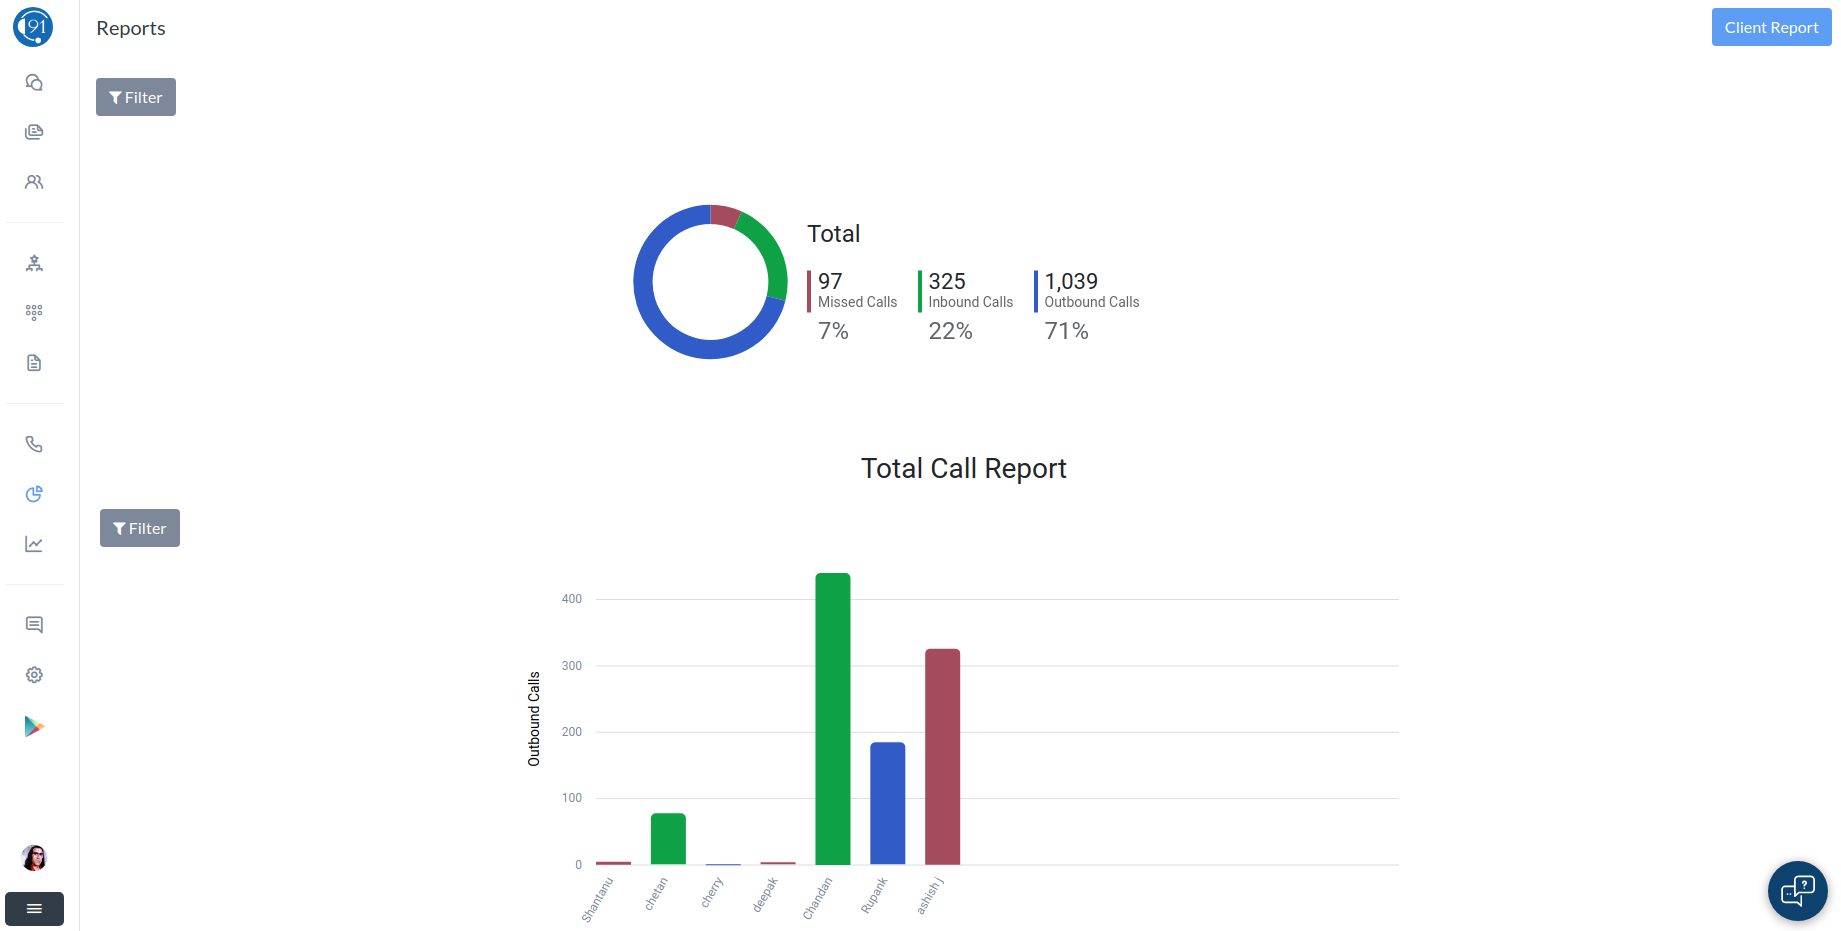
It can only be accessed by the manager of the company.
It summarizes the call records of the company i.e. number of outbound, inbound and missed calls.
If you click on these numbers a graph will be opened at the bottom of the page. You can see the client report i.e. duration of call with each client.
Both of these reports can be filtered on the basis of a particular team and agent.
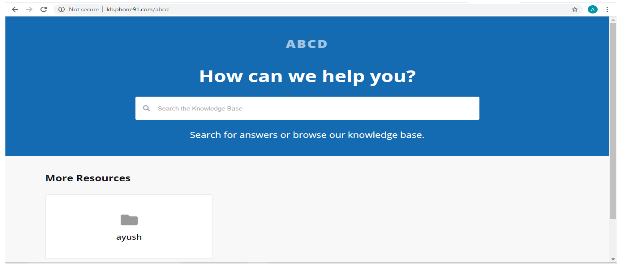
Knowledge Base
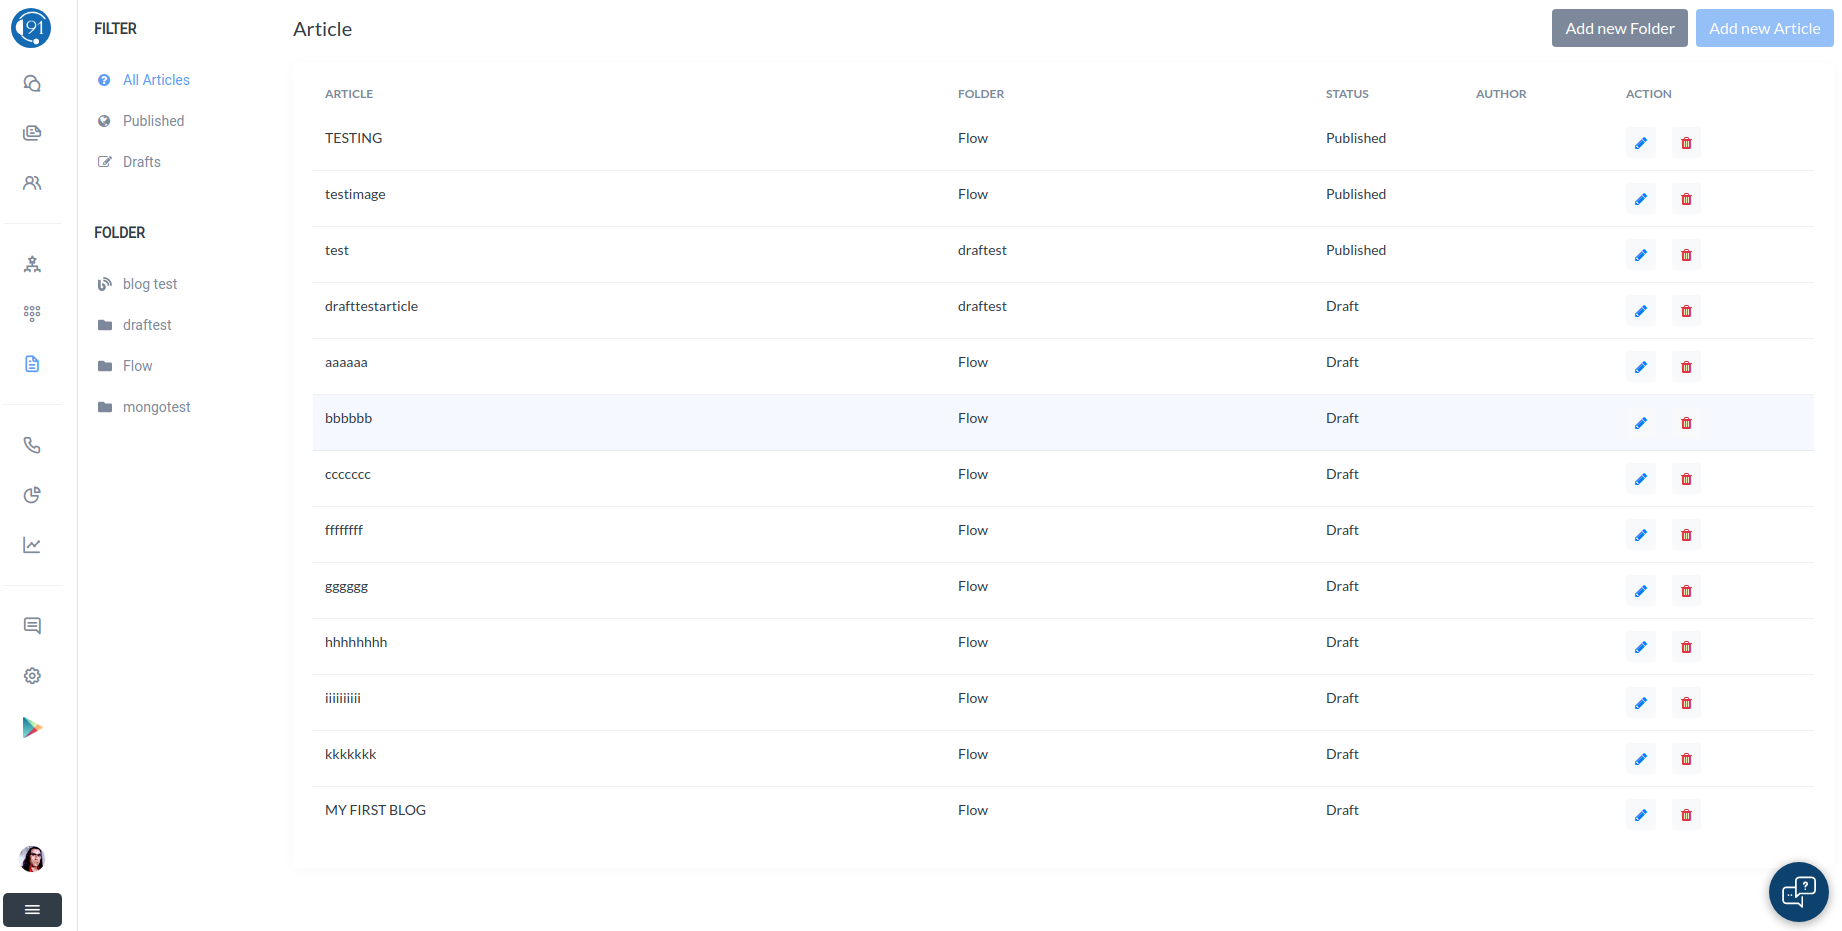
This tab is accessible to the manager only. The main use of knowledge base for a company is to add articles for the help of customers/clients, i.e. as their documentation, FAQ and help section.
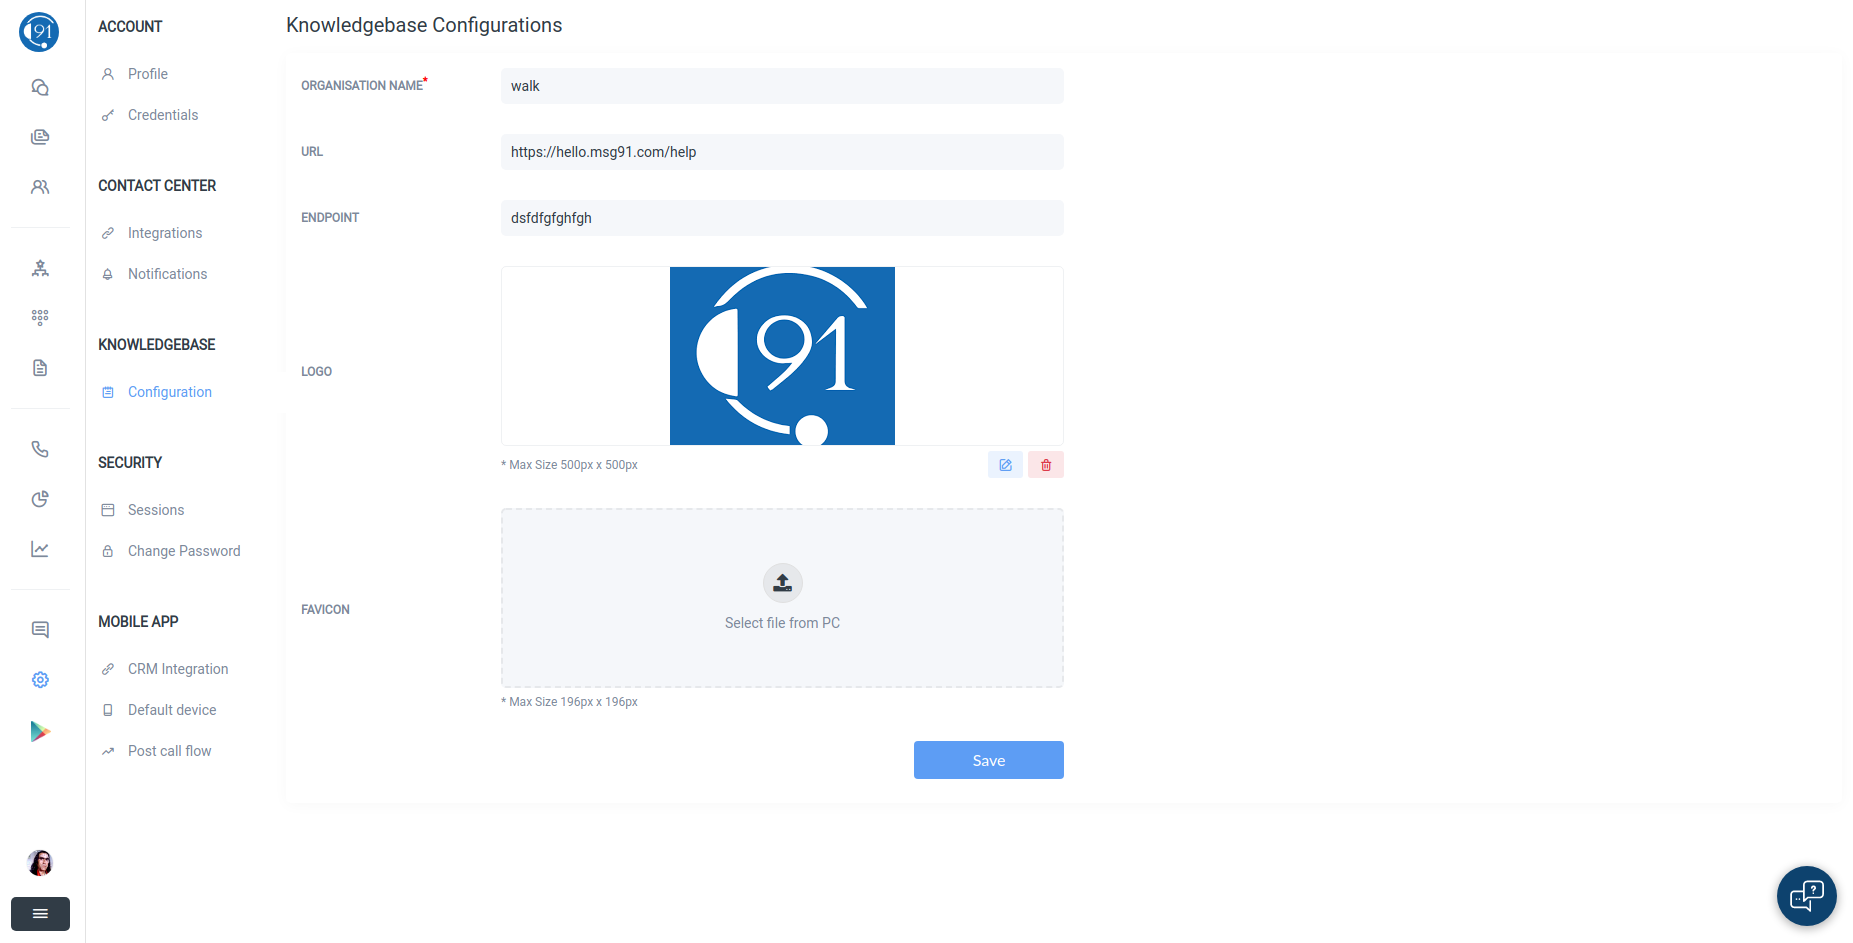
To use the knowledge base, you have to configure it in the settings tab.
There are two ways of accessing knowledge base through any URL, one through the 'kb.hello.com/organisation_name'. And the second through your entered website URL plus the endpoint you have configured.
To check the steps required to configure Knowledge Base in settings tab click here.
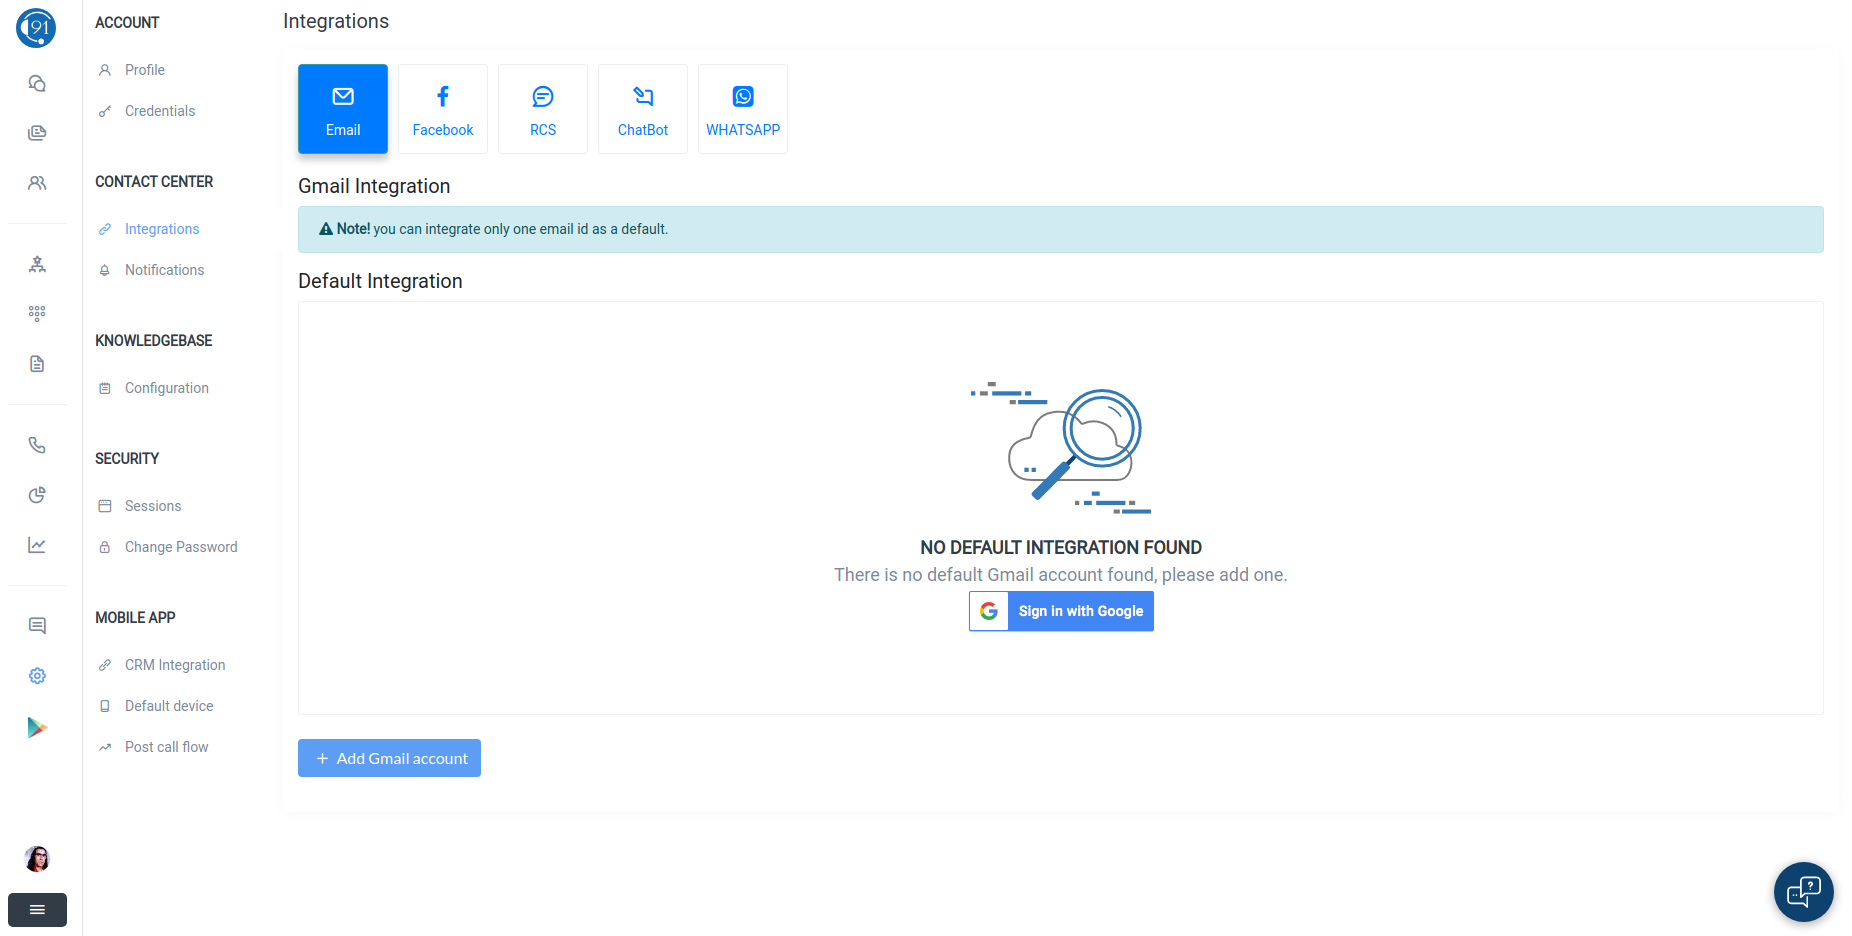
Settings Tab
This tab is seen by all roles i.e. manager, team lead and employee. But Gmail, Facebook and Knowledge Base can only be configured by the manager and all these functions are disabled for everyone else.
There are four functions under settings tab that are integration, profile, active sessions and knowledge base. Integration indicates the status of integration and we can integrate Mail, Facebook if not already done.
To integrate Mail just click on Integrate Mail option and enter the Mail and follow steps according to the instruction by this function.
To integrate Facebook, just click on the Integrate Facebook button and login to Facebook in the prompt window. Now you have to choose the page you have to integrate, remember you can only integrate a page not your personal account with HELLO.
Active sessions display all the devices currently login to the same account and their IP address. Multiple devices can login to the same account at a time.
Knowledgebase displays a form which should be filled the organisation name, URL and the endpoint which you want to use for the knowledge base.